How to Draw a Rose
Roses look fancy but they are easy to draw one part at a time! Draw the round bloom, add the petals inside, a little base, a stem and two leaves, then color it in. Follow these 6 easy steps and you can draw a rose all by yourself.
Get ready — what you need
Just a pencil, a sheet of paper, and some crayons or colored pencils. That's it!
💡 Tip: Take your time and have fun. Every drawing is special!
Draw the rose bloom

In the upper middle of your paper, draw the big rounded rose bloom. It looks like a fluffy spiral cup made of curvy petals swirling together. Take it slow and follow the curves.
💡 Tip: Don't worry if it's not perfect — real roses are wavy and bumpy!
Add the petals inside

Inside the bloom, draw the swirling inner petals near the top. These curls show the layers of petals folding into the middle of the rose.
💡 Tip: The inner curls are what make it look like a real rose!
Draw the flower base

Just under the bloom, draw the little pointy base (called the calyx) that holds the flower onto the stem.
💡 Tip: The base connects the flower to the stem.
Draw the stem

From the base, draw a long curvy stem going down. It bends gently like a real rose stem reaching down to the ground.
💡 Tip: A gentle curve makes the stem look natural!
Add the leaves

On the sides of the stem, draw two pointy leaves — one on the left and one on the right — plus a small leaf near the top. Leaves make your rose look full and pretty.
💡 Tip: Rose leaves have pointy tips and little edges!
Color your rose!
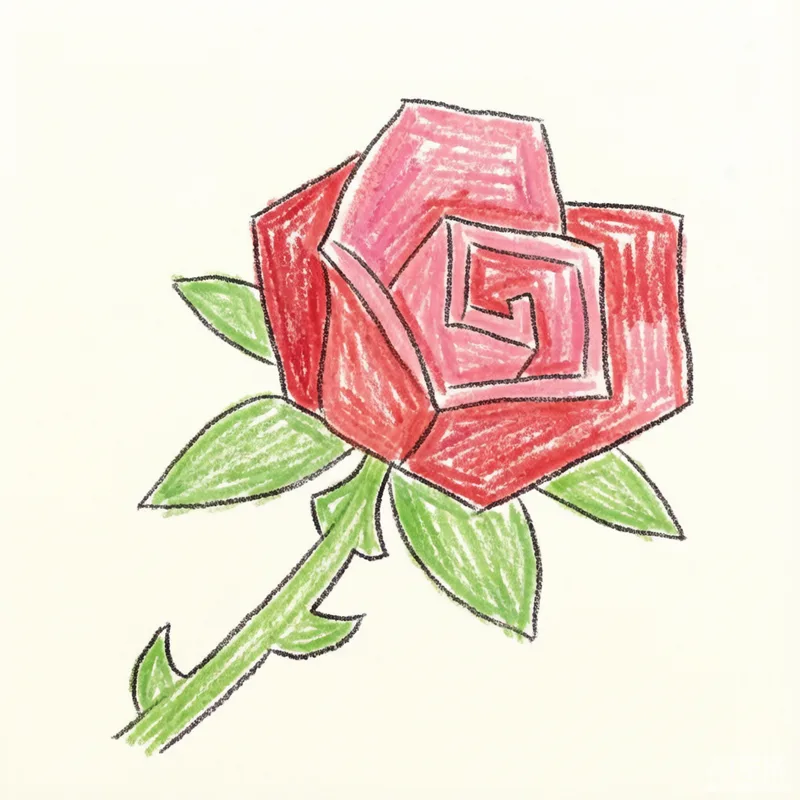
Color the bloom a bright rose-red, with a lighter pink for the inner petals. Color the stem and leaves green. Your beautiful rose is done!
💡 Tip: Roses can be red, pink, yellow or white — pick your favorite! 🌹
Prefer to watch?
The full video lesson — plus AI feedback that brings your drawing to life — is coming in the TwinkleDraw app. Join the waitlist to unlock it first.
+ Get a free "10 Easy Animals to Draw" pack